DIY Newborn Photography – Tips For Photographing Like A Pro
Living in the social media era, pictures are more prominent than ever. If you’re a millennial momma like me, I’m sure you’ve done your research on your local photographers, and I’m sure your eyes popped out of your head when you saw the price-tag for a one-hour session.
I’ll be honest, I have friends in the photography industry, and I can’t believe the prices they charge for even a mini session! Needless to say, I’m a momma on a budget, so as always, I got resourceful when it came to newborn photos.
Being on a budget doesn’t have to mean you go without. After all, we live in the social media era, right? An era where technology is advancing at an incredible rate and photo filters are abundant.
Sure, you can scroll through Instagram and see a high-quality photo of your best friend’s baby, in a high-quality setting, and a high-quality caption, and it’s hard not to feel a little envious. Well, I’m here to tell you that feeling ends here!
With these DIY newborn photography tips, your photos will be so good they’ll get you featured on the Instagram discover feed! (jk I can’t promise that, but your photos will be bomb!)
Click here to see the best camera for moms!
Light
 The first step to taking a quality photo is light. This is key, no matter what you are shooting with. The best source is obviously natural light, so find a window or doorway, or better yet, if you have a spot outside that would be best!
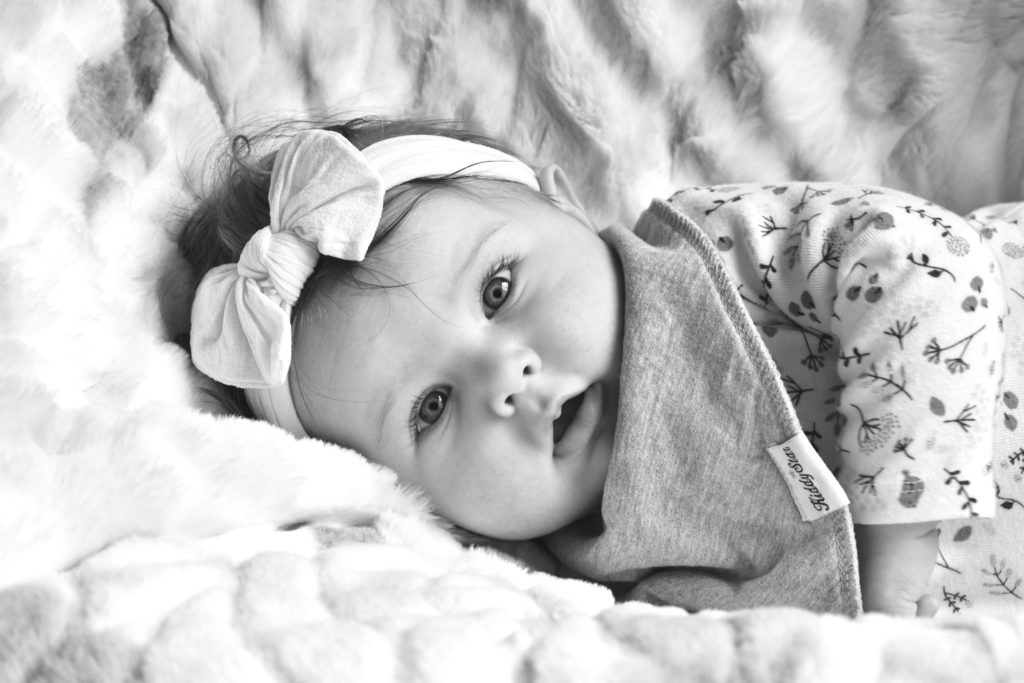
For my Hayvn’s newborn shoot I did it inside, seeing as we lived in a townhome with no backyard or porch space. Our home faced east to west, so I took her pictures a few hours after sunrise.
Almost every photographer out there will stress the importance of the golden hour (the best time of day for natural light- about an hour after sunrise or an hour before sunset). I am not a professional, but in my opinion, this doesn’t necessarily apply to indoor shoots. I actually prefer mid-day for an indoor shoot, because the brightest time of day, really lights up an indoor space, especially if you utilize a big window.
So, if you’re shooting inside, find a nice source of natural light, and set up right in front of it. There are three key things to remember regarding light:
- Blinds- A key thing to remember when using a window, is to watch for shadows. Pull back any blinds (don’t just open them) to avoid causing lines or shadows across your photo-unless you’re going for a look with heavy shadows.
- Positioning the camera– do not stand in front of your light source. Instead, take the picture, standing at an angle to avoid shadows or an underexposed photo.
- Shoot subject facing the light– Unless you’re going for a silhouette, place your baby so they are facing the light source. You want the photo to have as much natural light as possible for the best quality. For example, if you’re using a window as a light source, place your baby so they are facing the window, and take the photo with your back to the window. Remember the previous tip to avoid standing in front of the window too much, to avoid shadows.
Props
Now that we have a better concept of light and how important it is when taking a nice photo, the next step is the utilization of props. This is my favorite part because you can be as creative as you want, and if you’re like me, you may surprise yourself at just how innovative you can be.
For my daughter’s shoot, I used a faux fur rug, a blanket, my couch, and a boppy pillow. Depending on where you are shooting, a great tip for a backdrop is a solid color fitted sheet. I had a gray one that I was going to use over my couch, however, due to the lighting and positioning, I ended up not needing a backdrop.
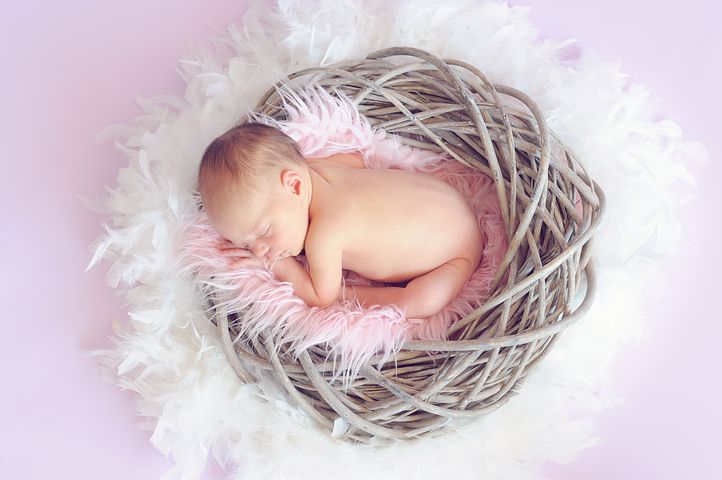
So, for Hayvn’s photo shoot, I placed the boppy pillow on the couch and placed the white fur rug (or blanket, I used both for different effects) over the boppy, and then I laid her on top. The extra support from the boppy pillow acted as a wedge, and really brought the angles and lighting together to create the effect I was going for.
I would recommend using something like this to prop your baby because it creates a nice depth of field, resulting in a higher quality photo. It also helps with eliminating shadows, because with her head slightly propped up, the lighting from the window was able to hit her face a little better, creating fewer shadows and a clearer picture.
Outfit
Okay, I know I said the props were my favorite part, but let’s be honest, I have a daughter, and who doesn’t just absolutely adore dressing up their little girls? So, I think this might be my favorite part.
Some may say I’m neurotic, call it what you want, but I put some serious thought into what I wanted my daughter to wear in her newborn photos-like weeks of thought went into this decision.
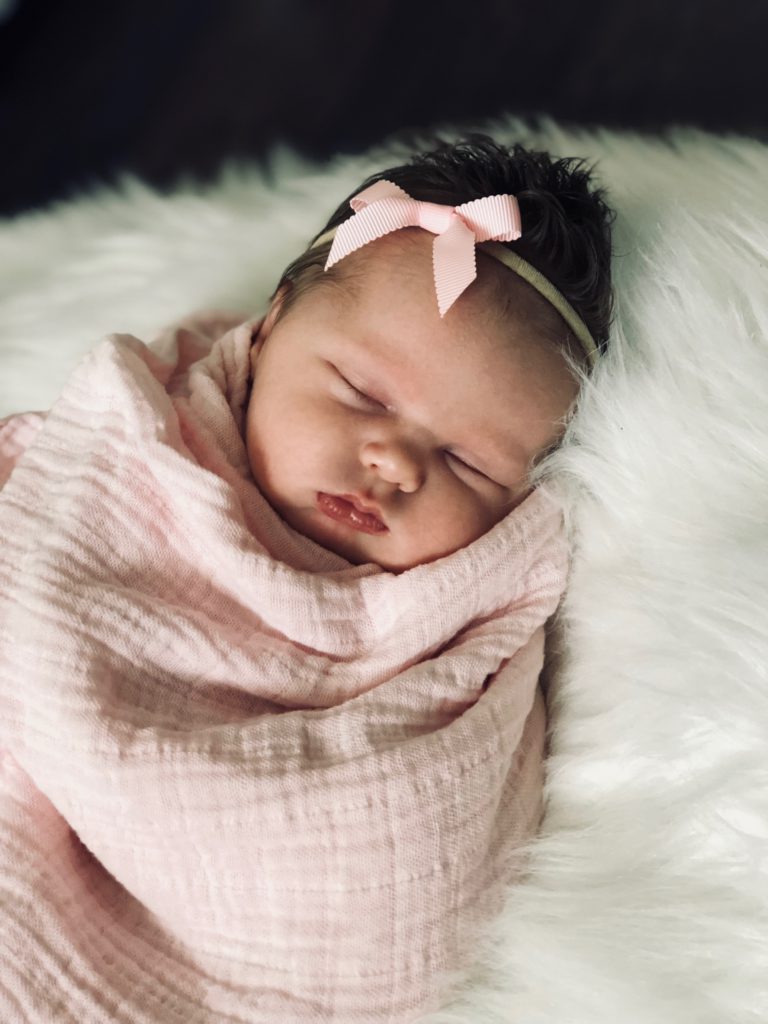
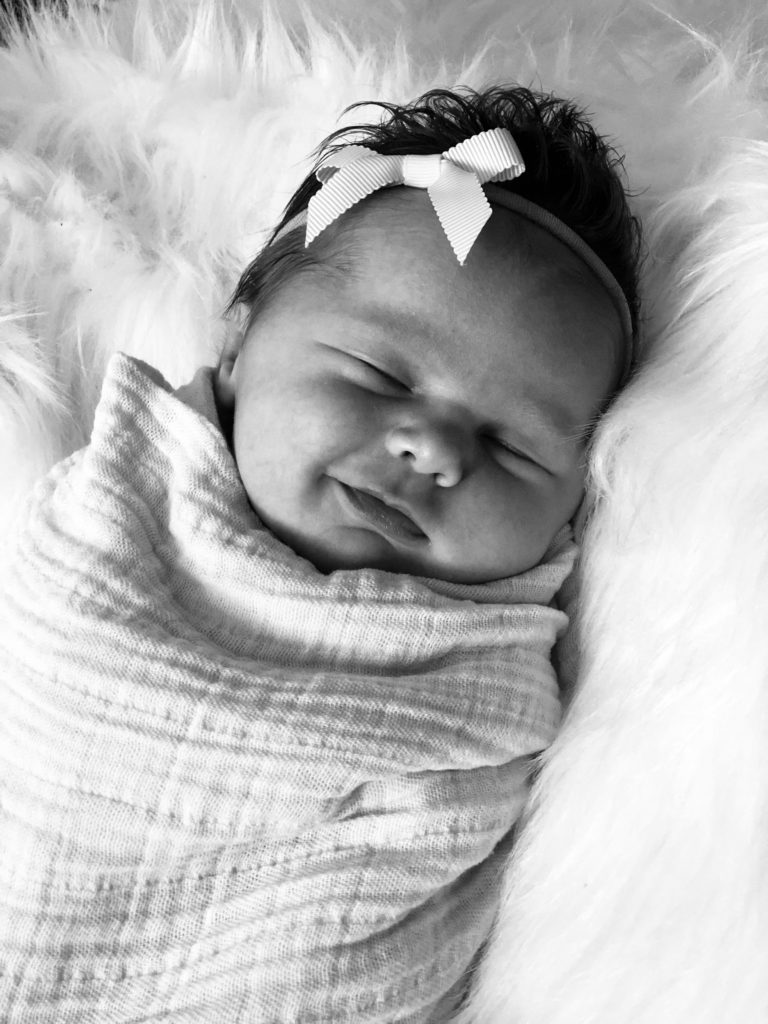
The most ironic part of this is that my favorite pictures were actually the photos where she was only in a onesie, a pink bow, and a matching swaddle. As simple as this sounds, this outfit made the photos.
I was going for a rustic-chic theme for my photos, so the more plain and effortless, the better. The reason why I think an outfit is so important is that it can encapsulate and tie together the entire look you’re going for.
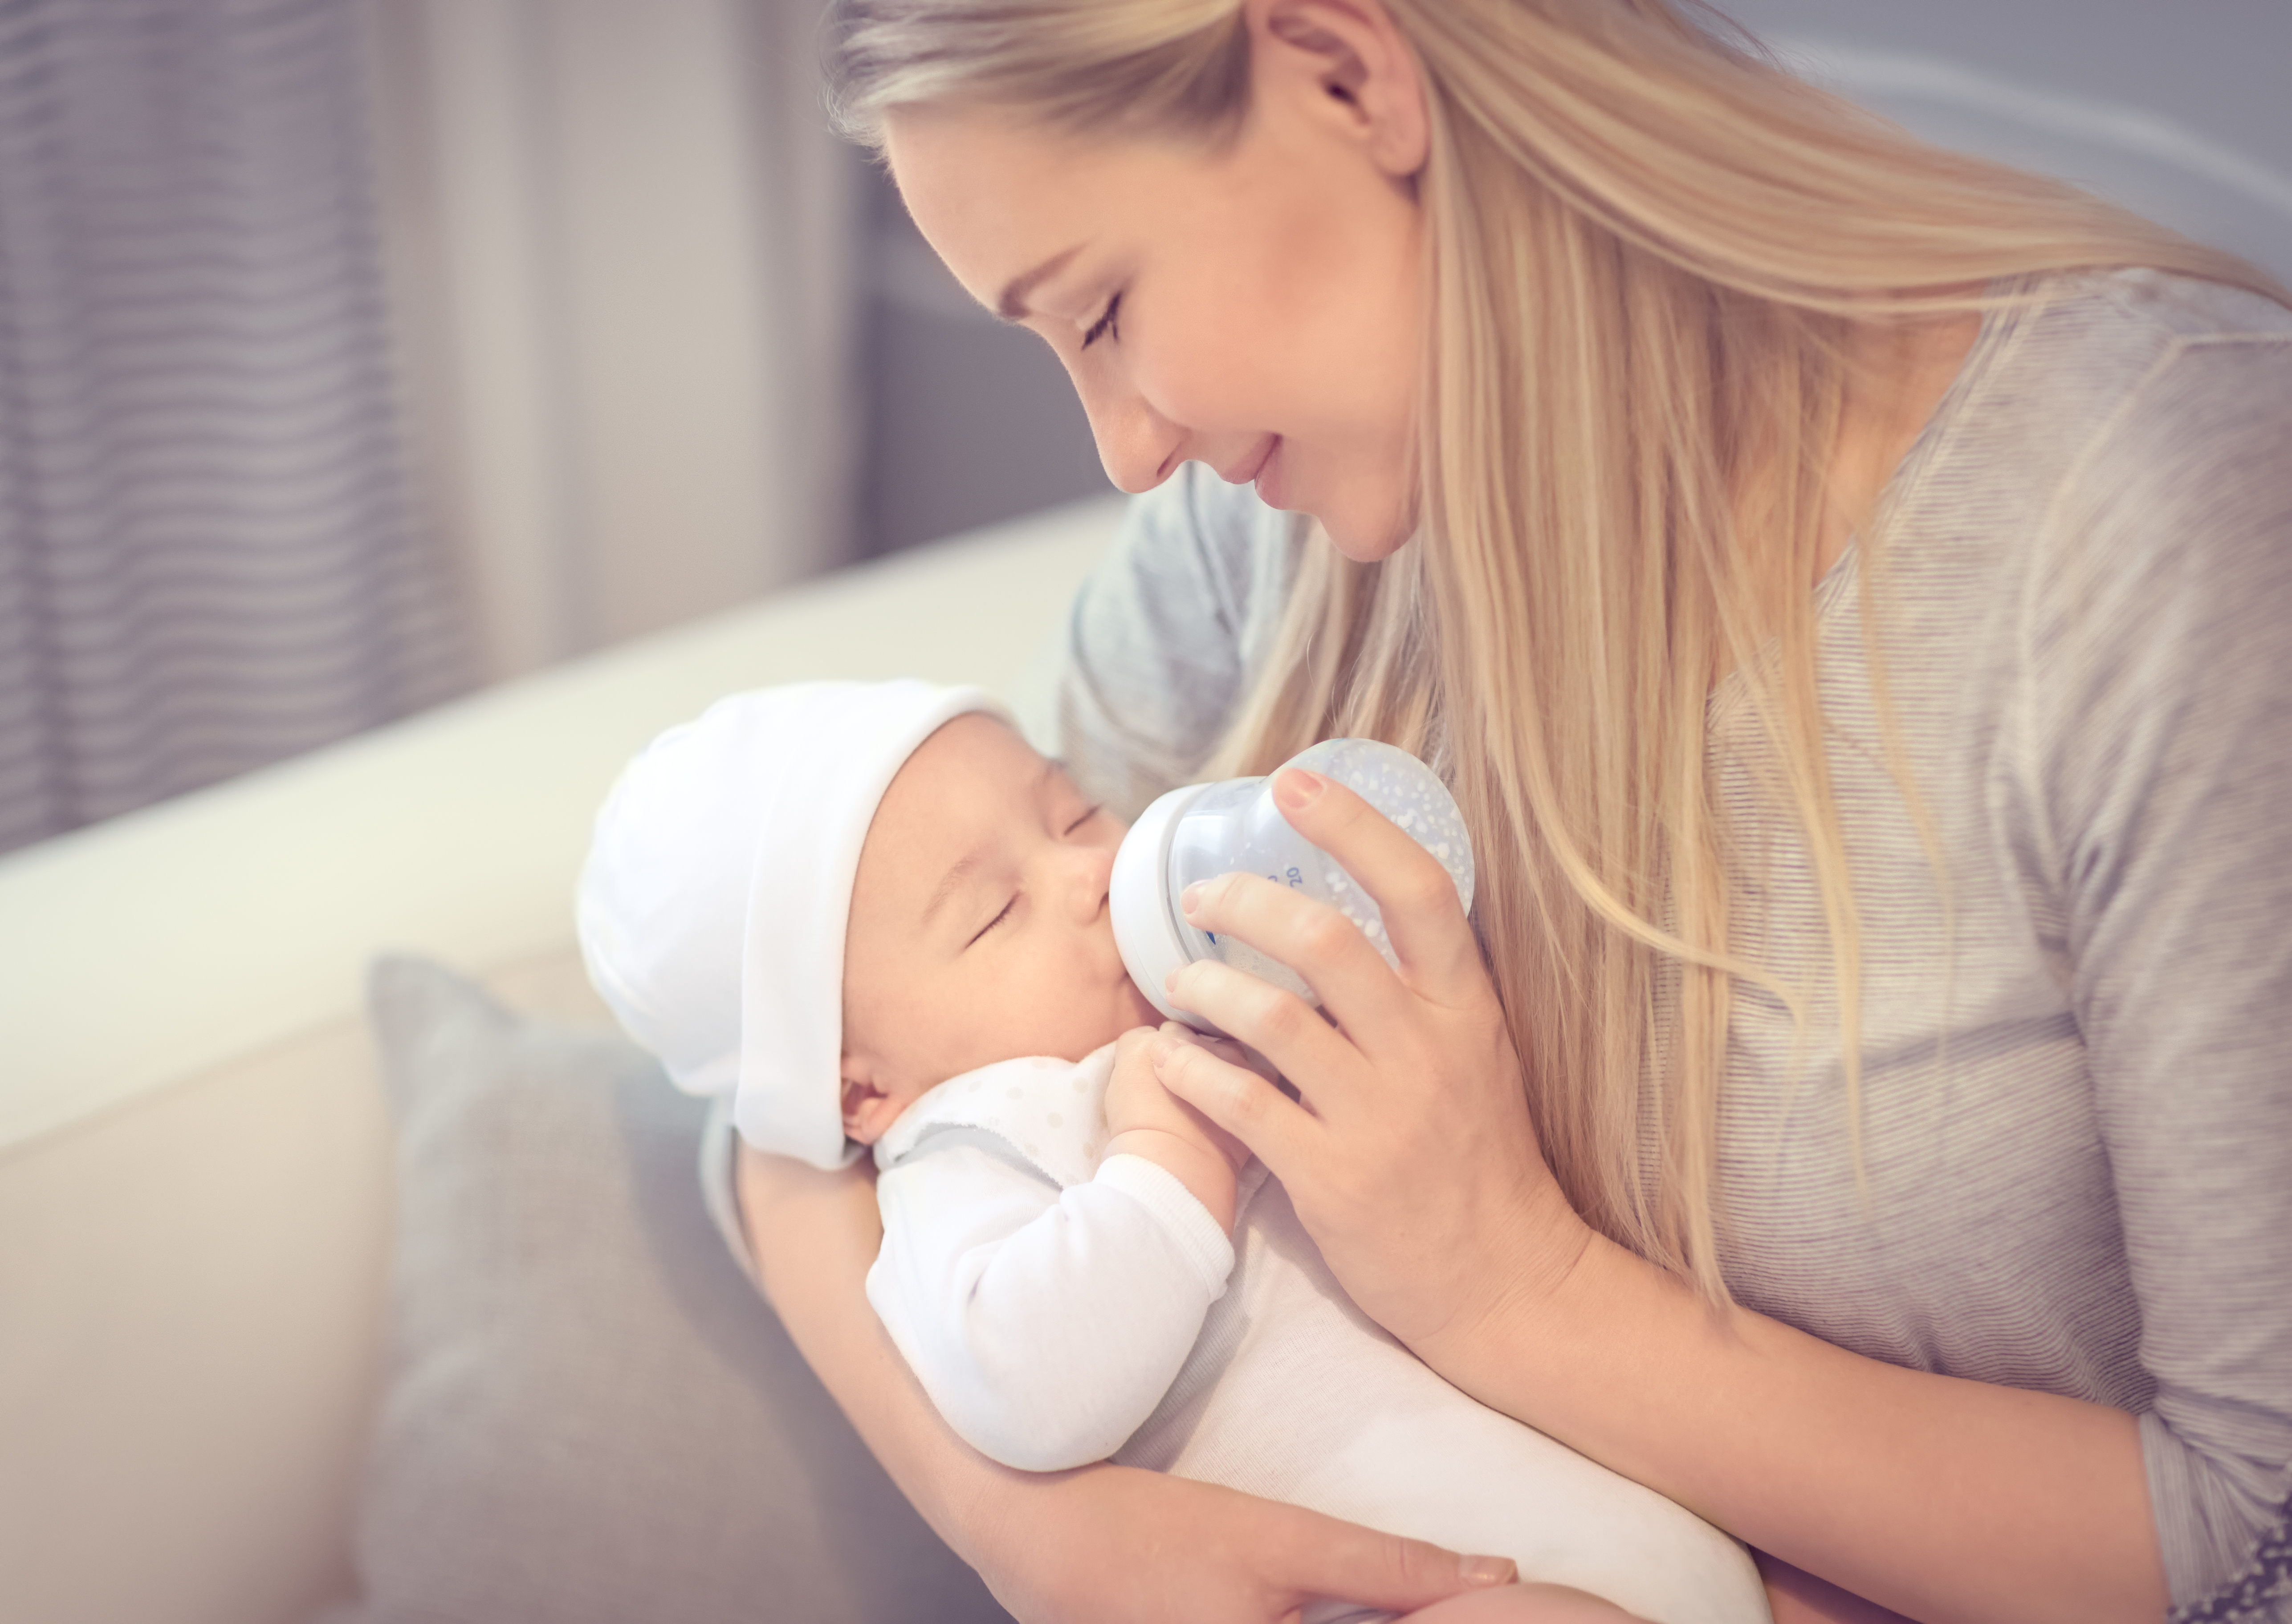
There’s even the option for the lack of an outfit and shooting your baby nude, which I think these shoots are just perfectly adorable. Newborns are only this little for a short amount of time, capture every essence of their small features while you can!
The point I am trying to make here is to keep the outfit a priority and don’t just shove it to the side. Think of the look you’re going for and find an outfit to bring it all together. Plus, the perk of doing a photo shoot on your own, is that you will be on your own time table, in your own home, and have no limit on the number of outfit changes!
Go crazy with it, try different things and figure out what looks best and what will give you the look you’re going for.
Smartphone or Camera
I battled with this for the longest time. When Hayvn was born, my husband was going through a career change, I had just quit my job, and a DSLR camera was not in the cards.
Although I longed for a nice camera, I knew I would have to make do with my smartphone, because if I couldn’t buy a camera, why would I spend the same amount of money to pay someone else for the photos?
I was pleasantly surprised with how the photos turned out, however, now that I have my DSLR, I wish I could go back and retake them. I guess what I’m getting at, is, if you have the option between paying a photographer, using a smartphone, or buying a camera, my recommendation would be to buy a camera, hands down, no exceptions.
I know you’re thinking to yourself, “why is she recommending a DSLR when she, herself couldn’t afford one?” Well, my answer is this: if I could go back in time, I would have found a way to muster up the money because it’s the best investment I have ever made.
This last Christmas my husband surprised me with a Nikon D3400, and since Christmas (4 months) I have taken 5,227 photos of my daughter. Yes, that’s a real number, and yes my husband has made it known that he is very grateful our daughter is the victim of my photo shoots, and not him.
Anyways, my point is, if you do the math, I have already gotten my money’s worth, and then some, out of my camera. For example, say I paid for TWO professional photo shoots (which in reality, I would maybe get 100 photos out of each shoot, maybe) with that money I could have purchased my camera for the same price, and the number of photos is endless.
The major perk to the camera I have is that it’s specifically designed for entry-level photographers, so it has built-in videos on the main menu, which teach you how to operate it. Before using my camera, I had never shot with a DSLR, but with the easy-to-use training videos, I picked it up in no time.
If you just can’t justify spending that much on a camera, I totally get it. Luckily, with today’s technology, smartphones have the ability to produce amazing pictures. However, if you’re interested in higher quality photos, I will place a link here to the exact camera I bought, which in my opinion, is the best bang for your buck.
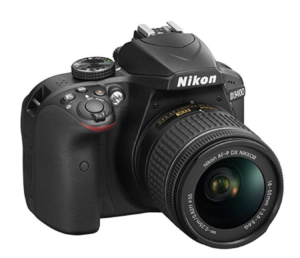
The camera I have also has the option for a monthly payment plan for Amazon Prime members. I bought the Nikon D3400 starter pack bundle which, along with the camera itself, includes:
- Two lenses
- Tripod
- Cleaning kit
- Remote
- Camera bag for traveling
- 64 GB memory card
- Multiple lens covers for photo effects and filters
- Flash attachment
*For Amazon Prime members, this bundle offers a monthly payment plan as an option as well.
Lights, Camera, Action!
Whether its with a smartphone or digital camera, with these tips, your DIY newborn photography, will come out looking like the pros.
By investing in a DSLR camera, or utilizing the camera on your smartphone, you can take matters into your own hands and create stunning newborn pictures without the time limits or price tag of a professional session.
Be your own photographer and get creative! I love learning new things, and I would love to hear from those innovative mommas out there! What are some tips you have found useful for taking pictures of your little ones? Feel free to leave them in the comments below!


12 Comments
Amber
Great tips, we tried a photoshoot at home with our first born…one of those do it yourself photoshoots and I sure wish I had this article back then lol. We had a legit camera but the lighting was all off, the props we’re not setup properly, I remember my daughter pooping on me an it was just not as easy as I imagined it would be. We were able to pick through and find a few good pictures but photographers definitely have their work cut out for them, especially when kids are involved.
Madysen
Oh no! Haha babies can be so unpredictable sometimes! I’m sorry she pooped all over, but I’m sure it made for a good laugh 🙂
Yes! The props and lighting are SO important, they can make or break a photo regardless of what you are shooting with.
I typically try to take a couple practice photos to check and see how my lighting and props are working together before I start the actual photo shoot.
I have learned this helps and then you don’t waste a good shoot, and feel disappointed when you go to upload the pictures and edit!
Just apply these simple techniques to your photos and I promise you will impress yourself!
Madysen
Ivan Brozincevic
I would go for a new camera as well if I were at your spot. The smartphone is ok but for taking pictures of trees only. Thanks for sharing! Your baby girl looks adorable 🙂
Madysen
Hi Ivan!
Thank you!
Yes, a digital camera is the way to go. I have used multiple photos that I’ve taken on my Nikon to decorate my house and they have all printed so much better than the ones from my smartphone.
In fact, most of the photos taken on my smartphone were so blurry in the print outs I couldn’t even use them. I wanted to use my daughter’s newborn pictures to decorate her nursery, unfortunately the quality was just too poor :(.
This is a major reason I wish I could go back in time to do her photo shoot with my Nikon. But at least I have it for my next babies :).
Thank you for sharing!
Madysen
Kristin Day
Thank you so much for this post I feel so much more empowered to take better photos of my daughter and not miss those precious moments … And I will definitely be investing in a Camera!!
Madysen
Hi Kristin!
Yay! That makes me so happy to hear! Investing in a camera was the best thing I ever did. You can’t put a price on a memory, and the quality you get with a digital camera helps preserve the memory through capturing the smallest details.
Thanks for stopping by!
Madysen
jen
I’ve always been into taking pictures and find having a camera much better than using my smartphone. Your tips on lighting and props are great, especially the props. Maybe they can get my toddler to sit still long enough for me to get a couple of good pictures. I love your pics of your baby, both the smartphone and camera look good. You have a good eye. Thanks for sharing.
Madysen
Hi Jen!
Thank you! That’s awesome you love taking pictures, it’s such a fun hobby, and it definitely makes it easier when you have such a cute subject for photos!
Props definitely help! But as far as getting a toddler to sit still, no promises! Haha my daughter is constantly on the go and moving. It’s safe to say a majority of my pictures turn out blurry😂🤦🏼♀️.
Thanks for stopping by!
Madysen
Chars Lu
I always take photos using smartphone, honestly I don’t have any camera because I thought the smartphone can instead of camera , but after reading your post maybe I’ll consider to get one!
bruce
What a great article. I really liked the hints to making the photos stand out like professionals do. Lighting, etc.
Madysen
Thanks Bruce!
I’m glad you found this helpful. Thanks for stopping by and good luck with your photography! 🙂
Joel
Hello Madysen, your baby and the photos look beautiful.
Could you please share more info on the lenses you used in the D3400 for the bokeh pictures ?
Thanks and good luck with the little angel.