
DIY Old Lady Halloween Costume For Baby

Although this is my favorite time of year, I’ll admit, I’m the worst at planning costumes. I get so wrapped up in the changing leaves, the pumpkin spice, and good vibes of fall, it tends to sneak up on me each year.
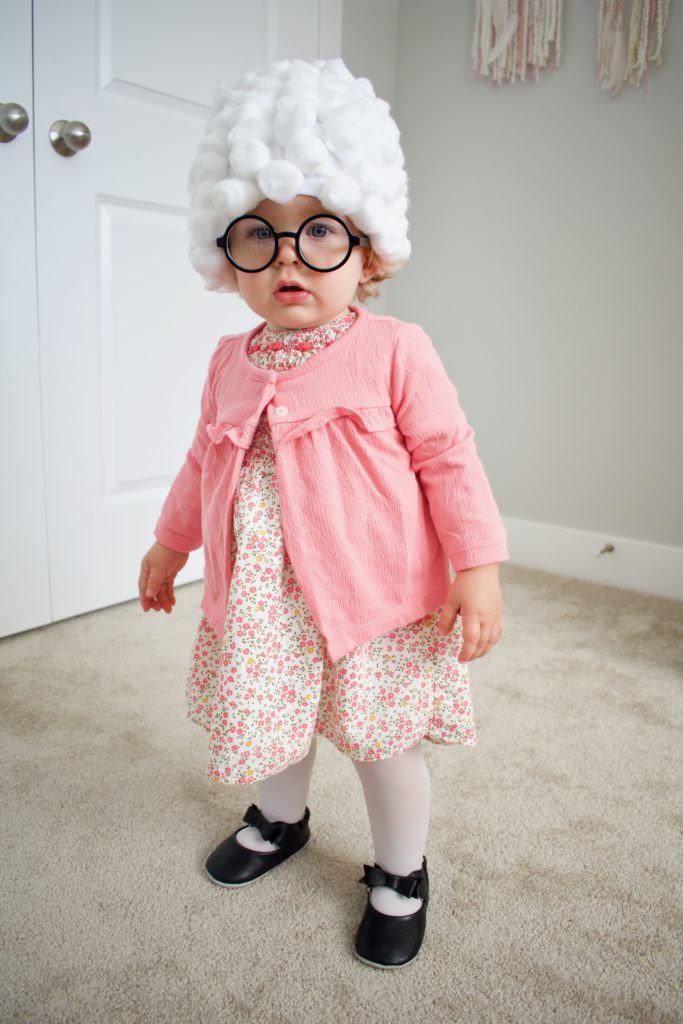
So, I’m changing things up and I’m planning ahead! This year, I am dressing Hayvn up as an old lady. I saw this idea before I even had kids and I thought it was so cute, and now that I have a little girl of my own, I just couldn’t help myself. And as a bonus for those mommas like me who live in a cold, snowy place, this costume will keep your little one nice and warm.
I decided I was going to DIY this costume, because I like being creative, and turns out this costume was extremely easy to put together! So I wanted to share it with you all, and take you step by step on how to make this cute little old lady Halloween costume for your baby.
This post may contain affiliate links, which means I may receive a small commission through purchases made on my site. This is at no extra cost to you, it simply keeps my site up & running. Click here to read more about this is my affiliate disclosure.
What You’ll Need
Like I said, this costume was extremely easy to put together, and the only part that really requires any assembly or craftiness was the hair.
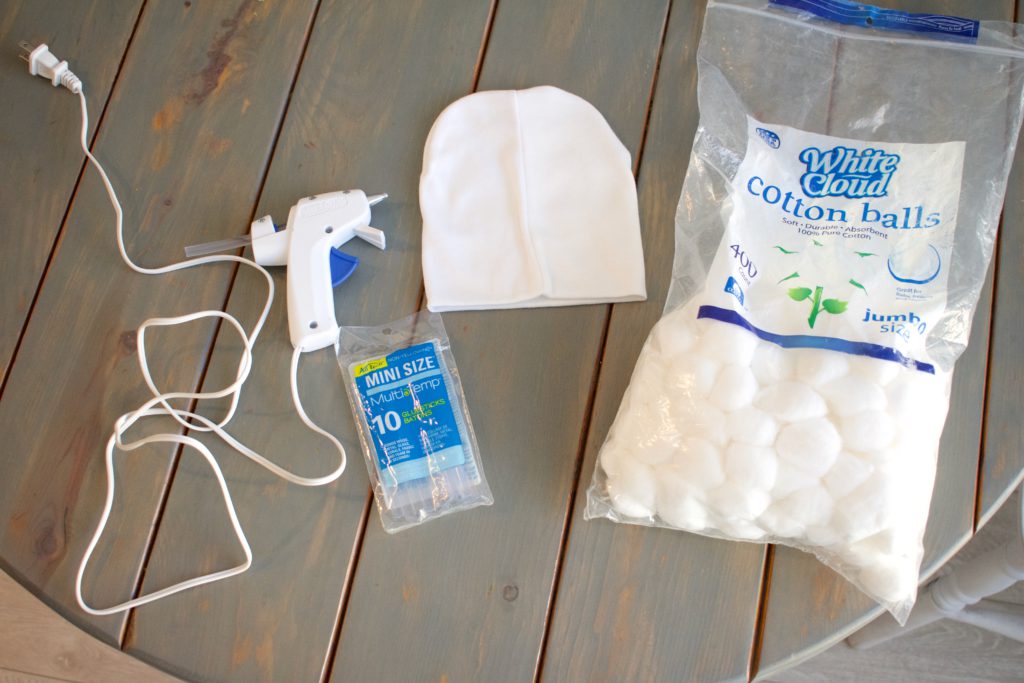
Here are the items you will need to make the old lady hair:
- Toddler/Infant sized beanie – click here to see the beanie I used
- 200 Count Bag of Cotton Balls
- Hot Glue Gun
- Extra Glue Sticks (I used about 10 mini glue sticks)
For the rest of the costume, it doesn’t require much and some items you may even have on hand already:
- A Dress
- A Sweater
- Toddler/Infant sized glasses – click here to see the glasses I bought
- Tights/Nylons
- Slippers (or shoes that look like slippers)
- Pearl Necklace (optional)
Making The ‘Hair’
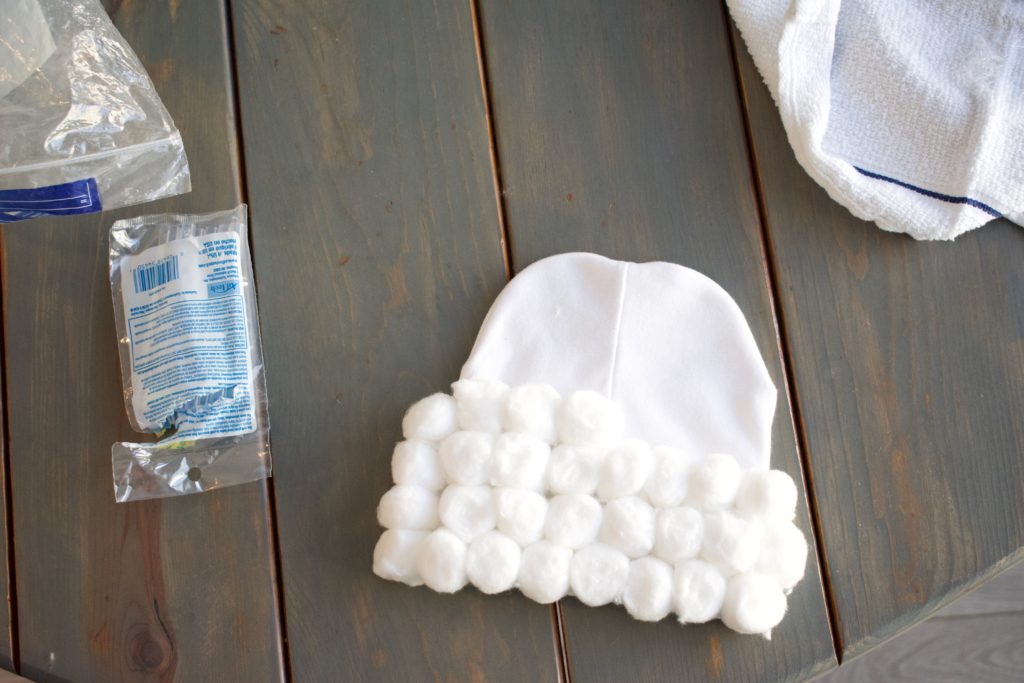
To make the old lady hair, it’s very basic. You simply hot glue the cotton balls in rows around the entire hat, yes it’s that easy! I have step by step pictures to break it down to show you how I did it.
1. Start With One Side
Start with one side and work your way up. Place the cotton balls as close as you can to one another, because once the hat is placed on your baby’s head, they will stretch and space out a little.
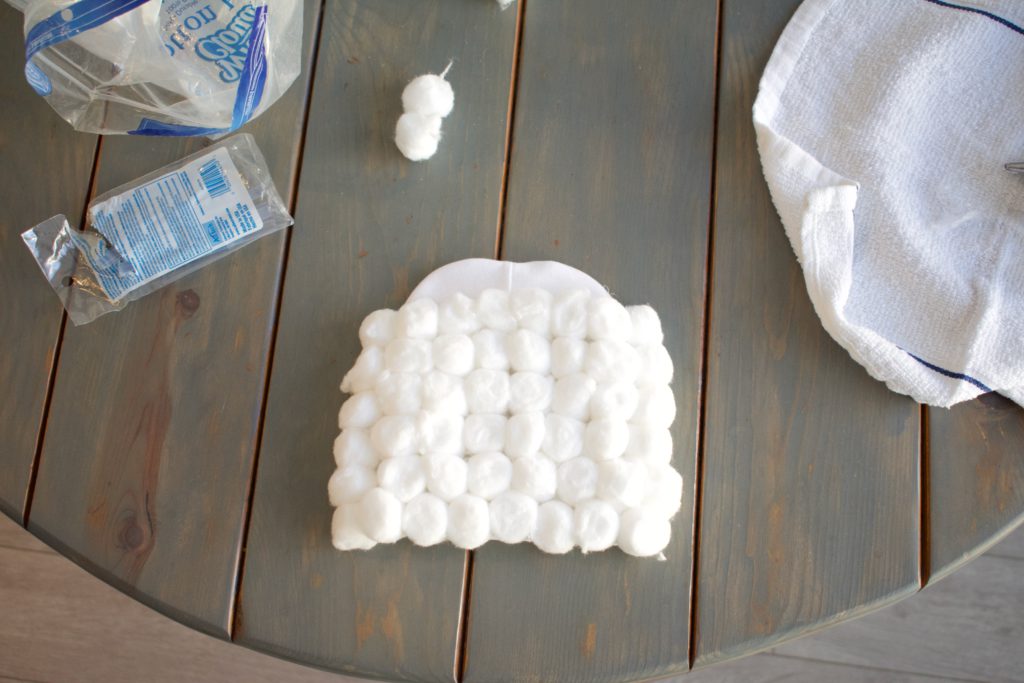
2. Stop About One Row From The Top
Keep gluing the cotton balls until you come about one row from the top, flip it over and repeat on the next side.
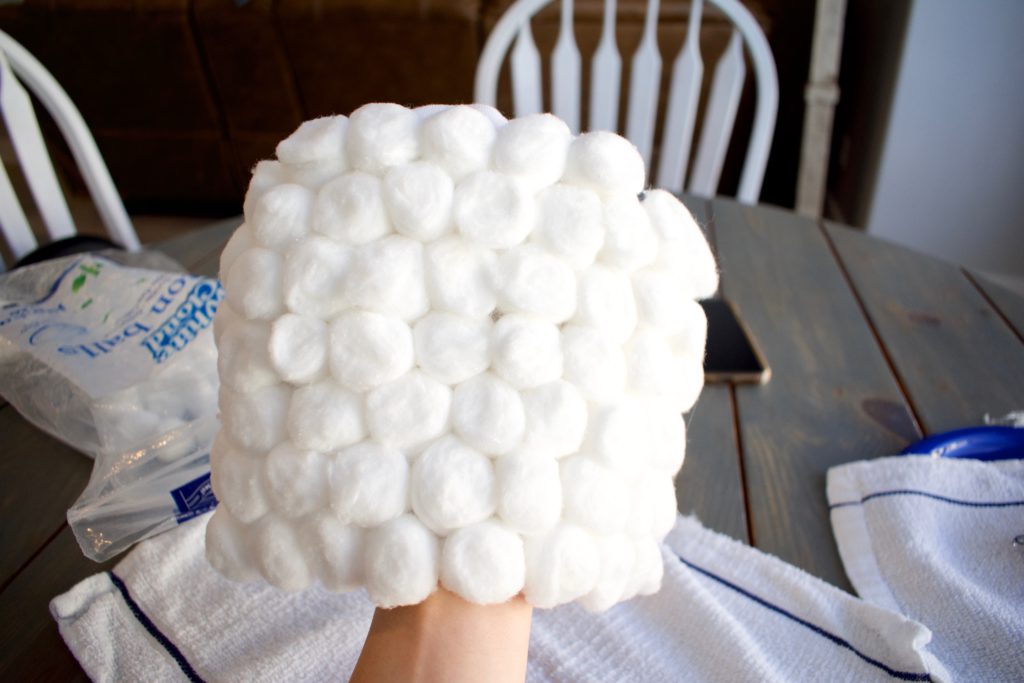
3. Finish The Top
Now that you have both sides completed up until a row from the top, place your hand inside the hat and place the last few cotton balls on top.
4. Put It All Together
Now that the hair is finished, it’s time to put it all together! Where I live, Halloween is always a little chilly, so I layer and bundle Hayvn up. I start with some thick tights and cozy slippers, then the dress, then the sweater and finish it off with the hair, and the glasses. Since Hayvn is still pretty young, I don’t want anything around her neck, so I chose not to use the pearl necklace.
Happy Halloween!
And there you have it! Your very own DIY old lady Halloween costume!
I hope you enjoyed this step by step tutorial. It’s a really fun and cute idea, and it adds a little extra flair if your little ones still don’t have teeth!
If you enjoyed this post, or if you have any questions please let me know in the comments! Have a fun and safe Halloween. Happy trick or treating!
XOXO



5 Comments
Hugh
A great read…clear, concise and easy to follow. Thanks for the helpful product recommendations. I am also looking forward to Halloween and love to get involved with making my own costumes. This is very creative, simple and cheap to make. Thanks so much 🙂
Madysen
Hi Hugh!
I am glad you enjoyed this post! I agree this costume is super cheap and easy to make, it was a fun project! Thanks for reading!
Kaylon
This is adorable! Super easy and I’m pretty sure I have everything at home to make the costume. Thanks Madysen!
Madysen
Hi Kaylon!
Thats the best part about this costume is that most people will already have most of the pieces at home already!
Bobby
Madysen,
That’s so cute! It makes me want to dress up my daughter as an old lady for Halloween! Great idea for an inexpensive price tag:) I appreciate how easy and clear your directions are to follow. Thanks!